Why to Use a Featherboard?
Working on saw machine and using featherboard along with the fence is just like working with extra hands! Featherboards keep your fingers safe and in good shape while operating power saws.
Featherboard:
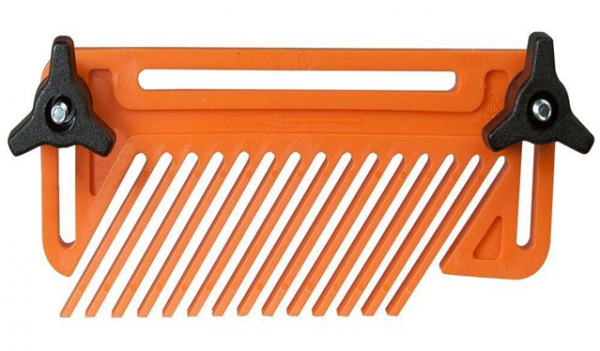
Featherboard is basically a safety device. It is used when working with stationary power saws like bandsaws, table saws, mitre saws shapers, router tables, radial arm saws etc. A featherboard is simply a board with a series of defect free slits cut into a uniform fixed angle like 45 degree, forming a row of flexible fingers that bends just like the barbs of a feather. It applies pressure against the wood to be cut and keeps it flat on the saw machines table or the fence while steering the work piece to the blade.
A featherboard can also be created at workshop from an approximately 3/4 × 3 × 11 inch piece of straight grained, defect-free wood, cut crosswise at a 45-degree angle on one end. Many slits parallel to this direction of the grain can be cut manually but creating a good defect free featherboard is a time consuming and tedious task. So, purchasing a good one will prove its worth in the long run and save your precious time too.
Features of Featherboard:
- Featherboards are usually made from a high quality polymer and each feather board consists of angular slits known as fingers.
- The angle of the fingers allows the wood piece to pass in an unwavering, straight line but offers resistance movement in the opposite direction.
- These fingers exert some pressure on the work piece to be cut while feeding to the saw that produces cleaner cuts with rare chances of kickback, chattering or displacing of work piece.
- It comes with wedge-lock hardware which works in T-slots or miter slots on table saws, router tables or band saws.
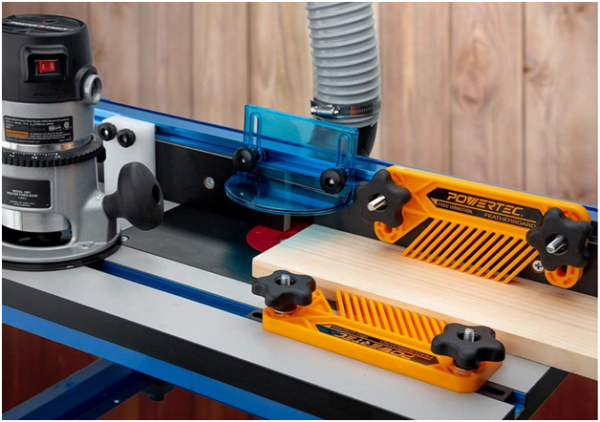
- The featherboard slide into miter-gauge slots in the router table or fence, and are locked in place by tightening a pair of knobs attached at the ends.
Key Benefits of Using Featherboard:
- The most important benefit is again your safety. It keeps your hands and fingers safe while feeding wood piece to the saw machine.
- It enhances the accuracy and quality of cuts tremendously.
- It can be connected to its place very easily and quickly.
- It is useful for edge jointing, and making moulding on router tables.
- It performs especially well at the table saw and router table. It can also be used on shaper, band saw or any other woodworking machine with a miter gauge slot.
- It takes care of the thin wood pieces, especially when feeding wood piece by hand is somewhat difficult.
Double Featherboard:

Using double featherboards give extra control over feeding mechanism. On router tables and shapers, you can use one featherboard before and the other one after the cutter. It is a good practice to attach featherboards to both the fence and the tabletop while routing long and thin wood piece on the router table.
Where to Get One?
Featherboard is a specialty tool and hence may not be available at your local stores but will be stocked at high quality building supply stores and woodworking tools dealers. You can also place your online orders from here in case you are searching for some good quality at decent price.
How to Use a Featherboard?

Using featherboard is quite simple and a quick process. A purchased featherboard will easily slide in the mitre groove on your table saw. Place the featherboard with fingers aligned in the direction in which the wood piece is fed.
The saw blade should never touch the fingers of the featherboard so just keep it little bit away from the blade. Also, make sure that its both the knobs are properly tightened so that the wood piece is secured and moves in forward feeding direction only.
For the most accurate cuts, lower the blade with the tool off and place the stock against the fence. Now, set the featherboard against the wood piece and tighten the locking mechanism with knobs attached. Test the wood piece if it is fixed properly or not in a dry run with the blade lower down. Ideally, the work piece should move in forward direction and not move back. Now, raise the blade up and push the wood piece for cutting.

